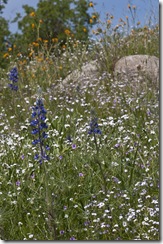
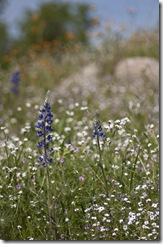
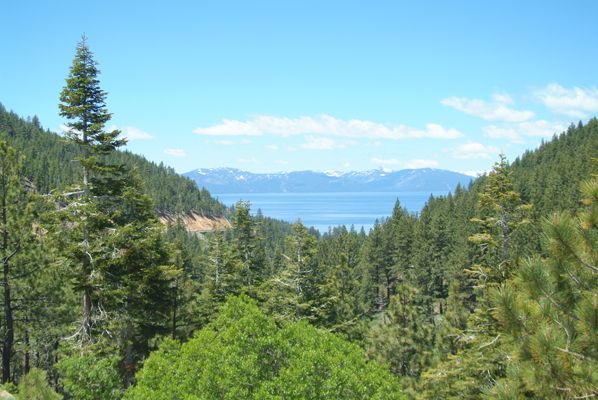
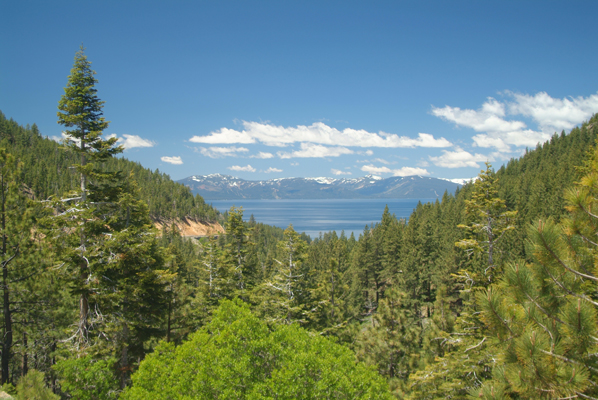
These two pictures are depth of field examples I use in photo class.
On the left my lens aperture was F16 and on the right F4. By choosing your aperture in the aperture priority or manual mode, you can control your depth of focus. You could also create these two different effects by using the landscape and portrait scene modes.
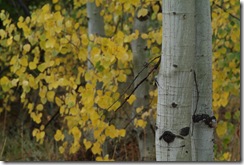
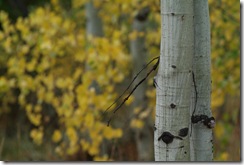
Two more examples of aperture control. On the left I have a shot in Program, but on the right I used F4 in aperture priority mode. You could also create the shot on the right with the portrait setting in the scene mode. By controlling your depth of field, you can direct the viewer’s eye to what is important in your photograph.
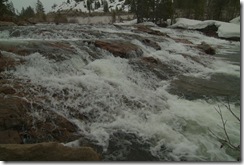
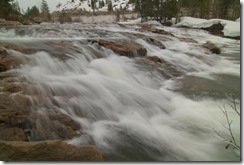
These are two shutter speed examples from class. In the photo on the left, I used a fast shutter speed, 1/250. In the photo on the right a slow speed, 1/30. In shutter priority mode, the camera picks the aperture for you. Notice how the water is frozen at the high speed and shows movement at the slow speed.
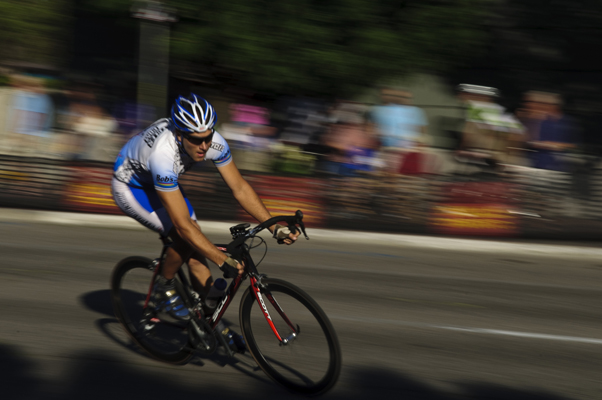
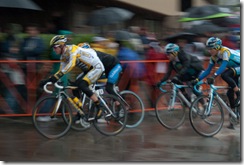 Another shutter speed trick is to pan with the action. Here I used a shutter speed of 1/30 and rotated the camera with the bicycles’ action. The riders remain partly sharp, but the background is “wiped” because of my rotation. This gives separation between the subject and the background. In the following example I used a shutter speed of 1/60 and the same panning technique. Look how much sharper the rider is because of the higher shutter speed.
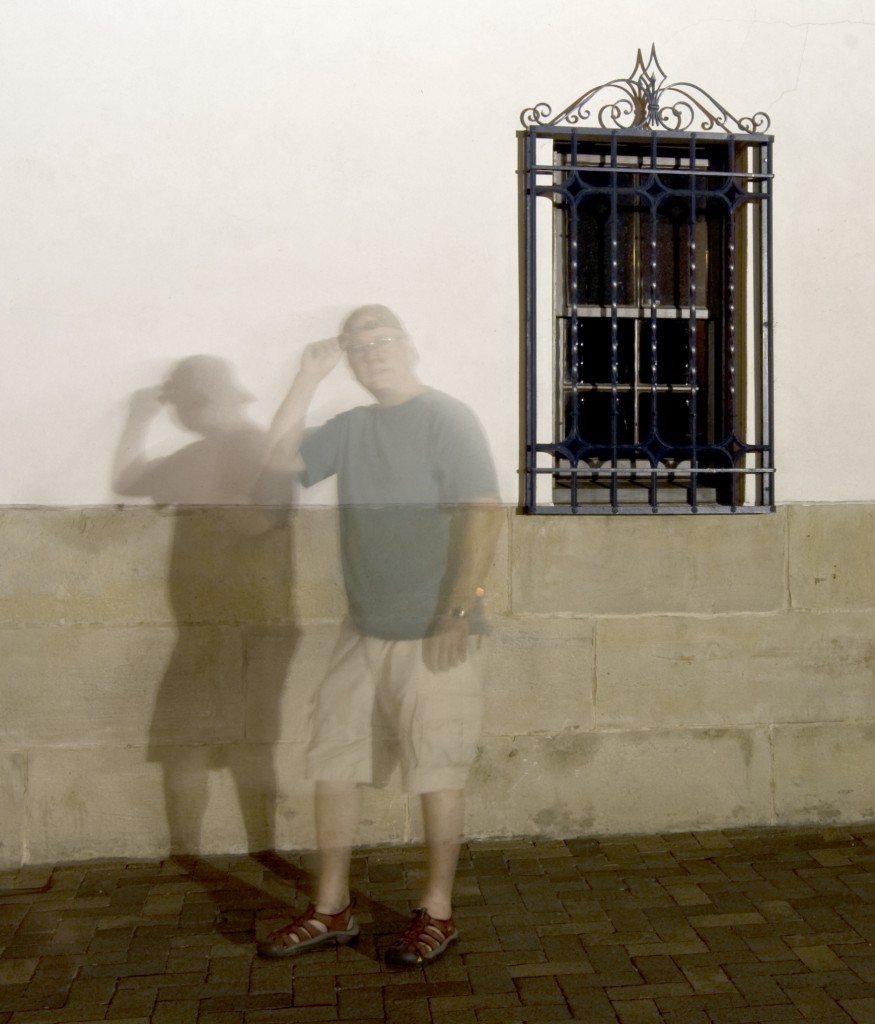
Ghost images are fun to make with a tripod in very low light. This is a 30 second exposure, of which, I stood in the frame for 10 seconds.
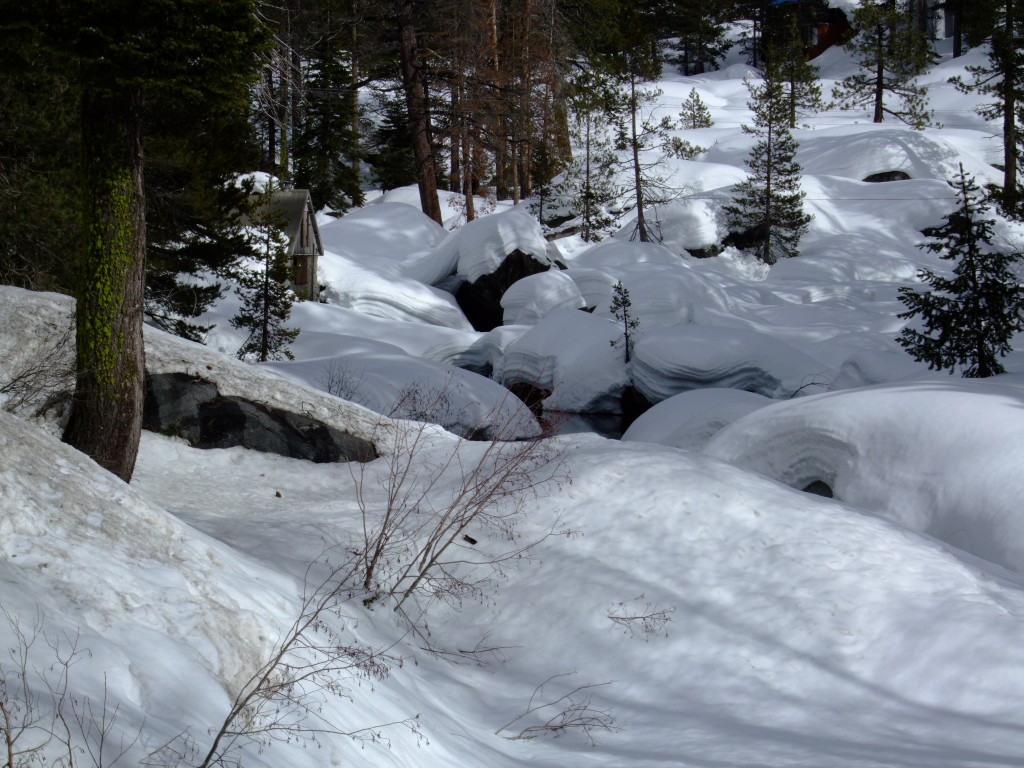
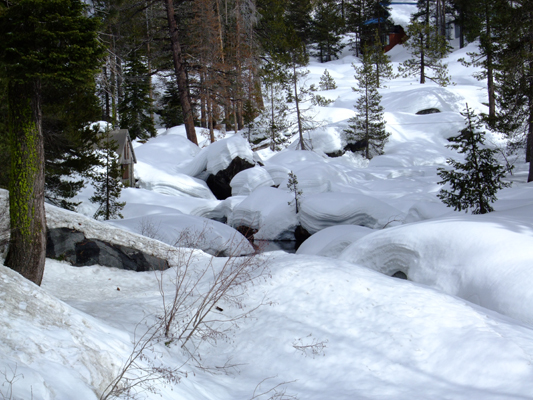
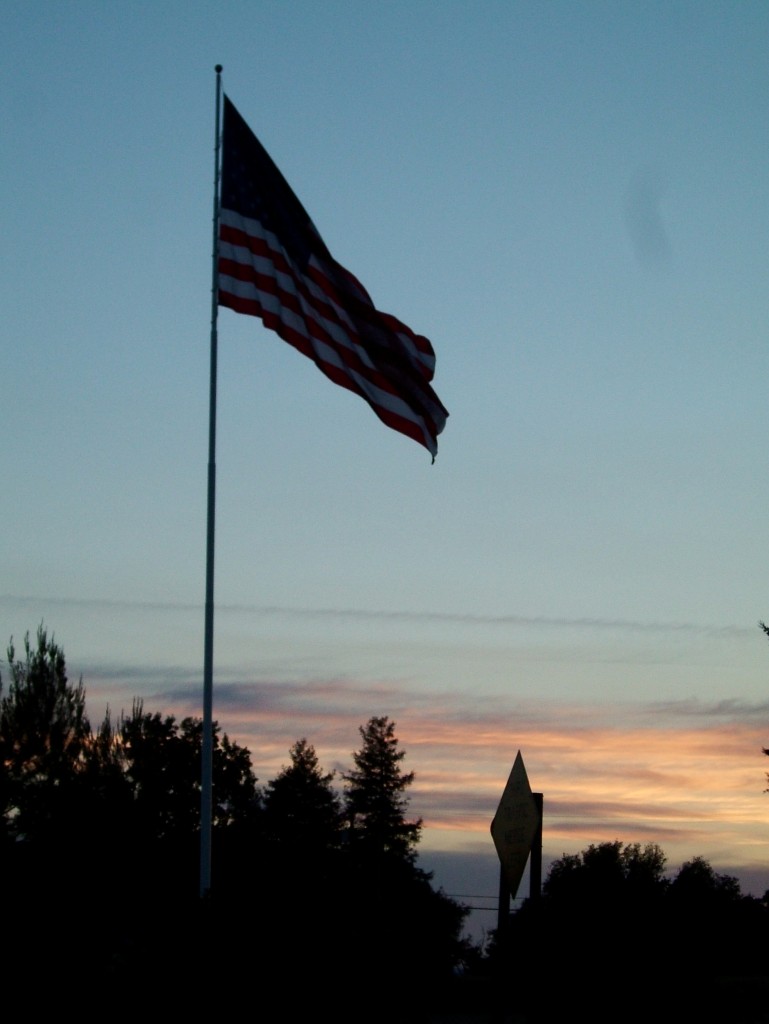
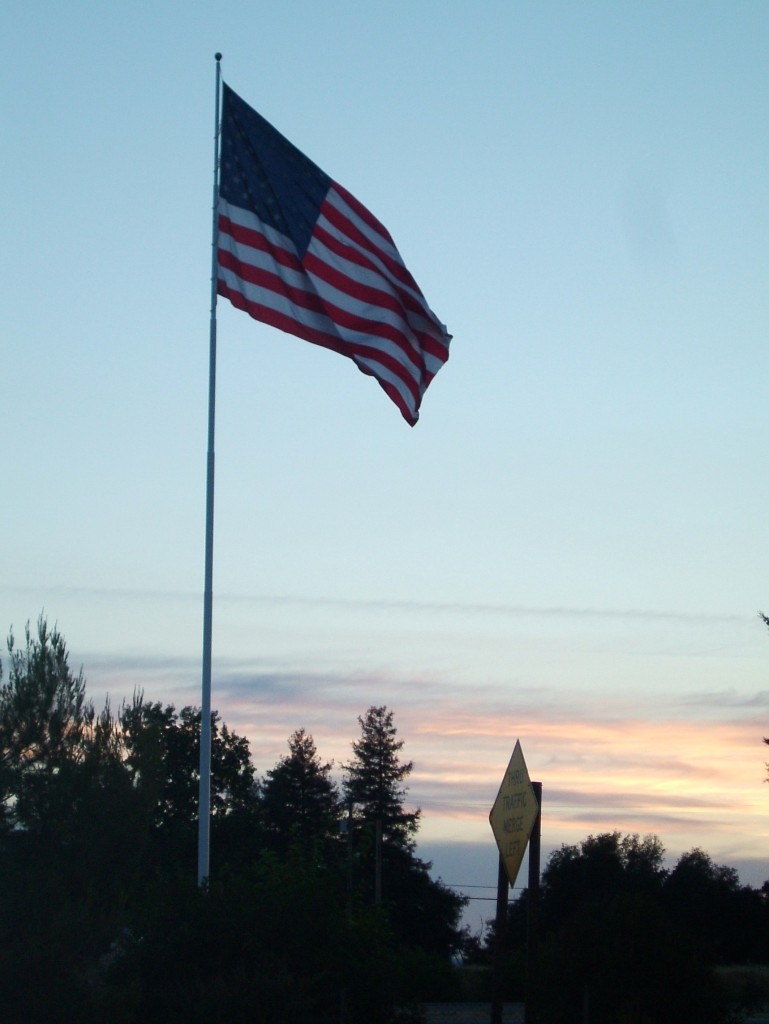
Another tool I use on a regular basis is the exposure compensation button (+/-) to darken or lighten an image. The camera meter is often fooled by the scene you are about to shoot. See the following examples.
Both second shots were overexposed with the (+/-) button, first to make snow, white and second to put stripes on the flag.
Don’t forget your Circular Polarizers if you are going to shoot landscapes, water or glass. This filter will reduce the glare in all. The second photo ahs the CPL filter installed on the lens.

